
The bridal headpiece is very nearly finished (making the lining almost finished me, I've never made one that would be seen in its entirety, in the round).
I spent today cutting and fitting it, and adding a few more beads. One more bout of beading--an hour or so should do it--and it's done. The acid-free tissue arrived today, and I already have a box for storage. I will also enclose it in plastic, as there are some silver beads, which will otherwise tarnish in storage.
It's a long process, to make a really fine beaded headpiece, but it's worthwhile, if you're making it for someone, or you'll be wearing it yourself. For a stage production I'd be inclined to advise a quick and dirty method, unless you were making it with the idea of wearing it after, at 20s themed events.
Still, here is the basic process:
1. Choose your style (tiara, full circlet, etc.) and order a buckram frame online.
2. Sketch out a design.
3. Choose your colors and buy beads and fabric and felt (for padding) as well as any additional trim.
4. Use dental floss for thread. I prefer very tiny quilting needles for beading, as real "beading" needles are extremely flimsy and long.
5. Make a pattern for your padding and your fabric covering. Cover with felt; trim excess. Cover front with fabric. I prefer to sew these on, as glue makes beading difficult.
6. Start beading! For anything complex, do single beads. You can do long strands, and couch them (or not) but they won't be as strong or liable to stay where you put them. I do not trace a pattern onto the fabric, or even use basted tissue. It's best to begin with something simple and geometric, and add slowly to the pattern as you progress.
7. When the beading is done to your satisfaction, add combs or elastic, if any. I usually sew these in, and then glue them. Pad over with felt (you can use glue now, if you like; I suggest jewel glue).
8. If the back will be visible, cut another fabric pattern out. Turn edges under and whip-stitch it into place, using the tiniest possible stitches.
Trial and error will teach you quite a bit. Take your time. If you start to make mistakes, stop. Rest, read, do something else for a while. It's not much fun to unpick bead work, and it can leave visible holes in the fabric.
Time? Most will take anywhere from two weeks to three months, so long as you take frequent breaks in order to retain your sanity and small muscle control.
Subscribe to:
Post Comments (Atom)
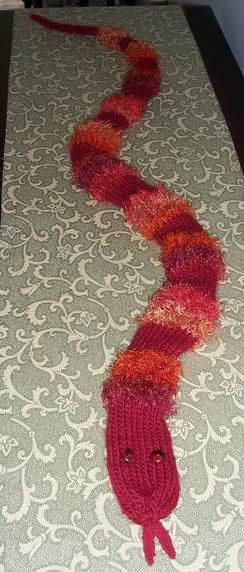
![Snake Scarf (for Sebastian) [from Knitting Pretty]](http://i38.photobucket.com/albums/e111/lindydiva/SebastiansSnakeScarf.jpg)
2 comments:
I used to do quite a bit of American Indian beading- both free hand and using a loom. I'd like to get back into it, but it requires undisturbed space I don't have at the moment. Wonder if you could do some of the headpiece beading - at least any square/rectangle parts- on a loom?
I know nothing about beading on a loom, but I imagine you could do fringe, or beadwork for an open piece that didn't have any significant curves, and attach later. It would look quite different, though.
Hand-beading for these really needs only some small containers and bags. You can tuck it all together very quickly and put it away--that's what I used to do when I first began to do this kind of beadwork.
The trouble begins when you start a bead stash!
Post a Comment